Want to get the most out of GPX Viewer? This FAQ covers the most common questions about using the app on Android, such as how to use offline maps, add waypoints, or follow GPS during your outdoor activities. Want to learn even more about GPX Viewer? Visit our user guide for more detailed instructions and solutions to frequent issues: https://docs.vecturagames.com/gpxviewer.
How to install GPX Viewer on another device
Got a new smartphone, or want to use GPX Viewer on multiple devices? Just download the app again from the Google Play Store and make sure you’re signed in with the same Google account you used to purchase the app.
Switching platforms from Android to iOS or vice versa? Unfortunately, app licenses can’t be transferred between Google Play and the App Store, as these are two completely separate platforms.
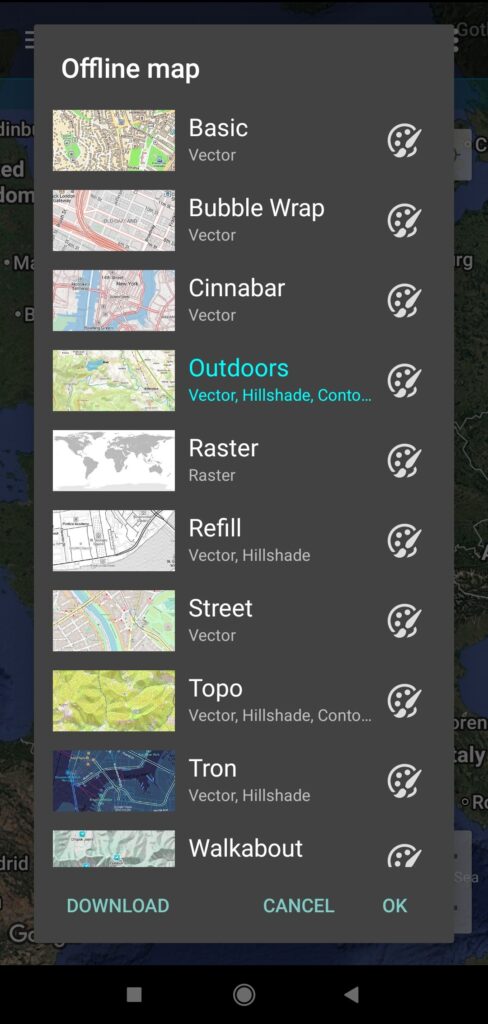
How to use Offline Maps (PRO only)
Planning a hike in a remote area or want to save mobile data on your next trip? With offline maps in GPX Viewer PRO, you can easily navigate even without an internet connection. Just keep in mind that you first need to download the map data for the regions you want to explore.
Here are the steps how to start using offline maps:
- Tap map button without globe in the top toolbar.
- In Offline map dialog, tap Download button in bottom left corner.
- Offline map data manager will open. Here, you’ll later see a list of downloaded maps. Tap + button in bottom right corner and download map for preferred country or region.
- Return to main screen, tap map button without globe again, and select an offline map style. Tap OK to confirm switching to offline mode. When offline maps are active, map button without globe turns turquoise.
For detailed instructions with video, visit our offline maps FAQ: https://docs.vecturagames.com/gpxviewer/doku.php?id=docs:faq:how_to:offline_maps.

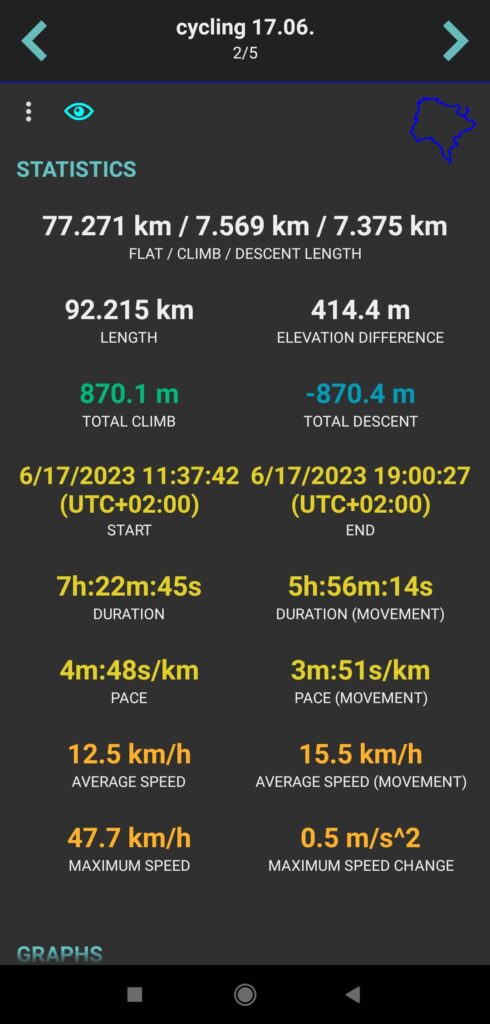
How to view graph below map and track stats
Want to check elevation of your route on the go? Just tap your track to show graph below map. By scrolling on graph, you can see the corresponding position on track line. To close graph, tap anywhere on map or tap x button in upper right corner of graph.
Graph below map might show not only elevation, but also speed or other types of data. Want to display a different data type? Tap four bars button in bottom left corner and select your preferred data type.
If your track or route doesn’t have elevation data, you’ll see Download elevation data button instead of graph.
As you may notice, there are several extra buttons above the graph. Here’s what they do:
- Location on map button opens detailed information about your track/route (another way to open track stats is from the left main menu is described below).
- Watch button lets you choose which data to show on X-axis.
- Pin button fixes graph bar on screen.
- 3 dots button shows extra options like direction or distance icons, graph zooming, or zooming on Y-axis.
For detailed instructions with video, visit our how to show graph below map FAQ: https://docs.vecturagames.com/gpxviewer/doku.php?id=docs:faq:how_to:graph_below_map.
The other way to view track statistics is to open left main menu → Tracks→ select your track from the list. In the upper left part of the screen there is 3 dots button with more settings for the track. For example, you can add elevation data to your track from here, learn more about adding elevation data in our user guide: https://docs.vecturagames.com/gpxviewer/doku.php?id=docs:faq:how_to:add_elevation_data.
Trackbook synchronization
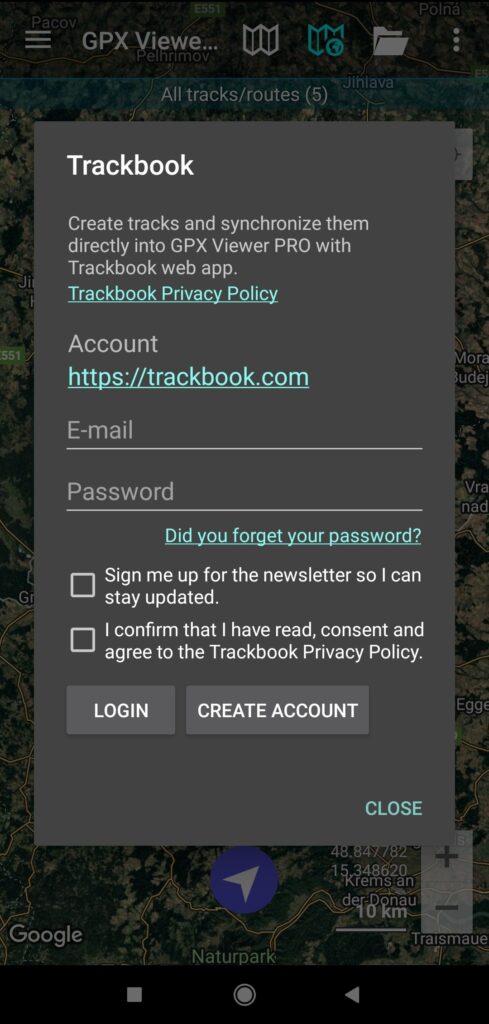
With our free web app Trackbook, you can easily create tracks for your future outdoor adventures on your PC or laptop. Created some tracks with Trackbook? Sync GPX Viewer with Trackbook to have your Trackbook tracks and waypoints on your smartphone:
- Open left main menu and tap Trackbook button.
- Enter email and password you used to create account on Trackbook and tap Login. If you are not registered on Trackbook yet, tap Create account.
If you forgot your password, tap Did you forget your password? — you’ll be redirected to Trackbook where you can reset it.
How to add a waypoint (PRO only)
With GPX Viewer PRO you can add a waypoint while recording a track or by using Create & Edit mode.
While recording a track
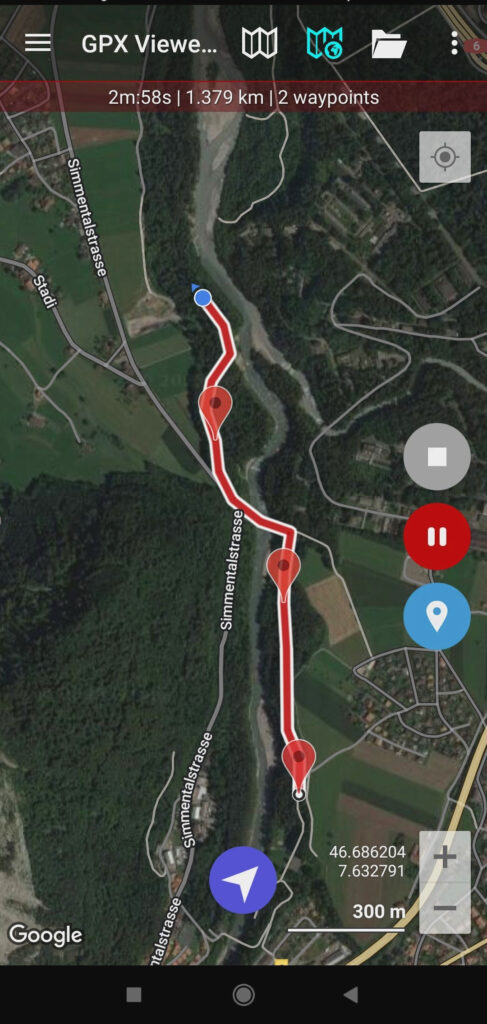
- Open left main menu → activate Track recording feature.
- Tap red recording button on the right. Track recording starts.
- When you pass an interesting location, you can add a waypoint by tapping blue waypoint button on the right.
- Tap stop button when you are done with recording, adjust track details and save it.
Here you can learn more about track recording: https://docs.vecturagames.com/gpxviewer/doku.php?id=docs:faq:how_to:record_track.
Using Create & Edit mode
If you want to add a waypoint without recording a track, use Create & Edit mode:
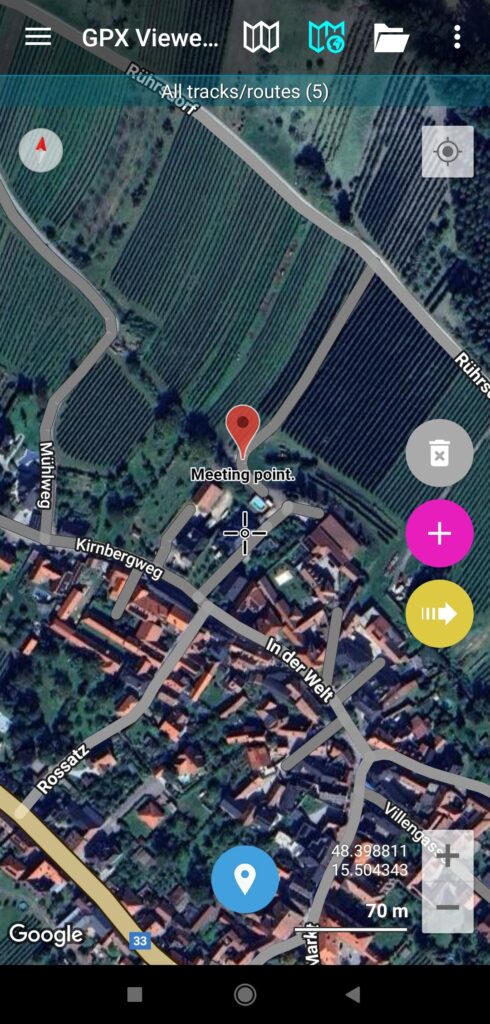
- Open left main menu → activate Create & Edit. You’ll return to map screen where new buttons appear.
- Choose where to place your waypoint and tap blue waypoint button at the bottom.
- Select if you want to add waypoint to the opened file, to Trackbook (for this you’ll need to log in to Trackbook first), or locally.
- Adjust your waypoint and tap OK.
Create & Edit feature allows you not only to add waypoints, but also to create, edit, merge tracks and more. Learn how to use Create & Edit feature in our user guide: https://docs.vecturagames.com/gpxviewer/doku.php?id=docs:functions_create_edit.
How to use Follow GPS
Opened a track or route and want to follow it? Use GPX Viewer as a simple navigation tool that continuously aligns map position and rotates according to device’s current position and orientation. Please note that GPX Viewer does not provide turn-by-turn navigation.
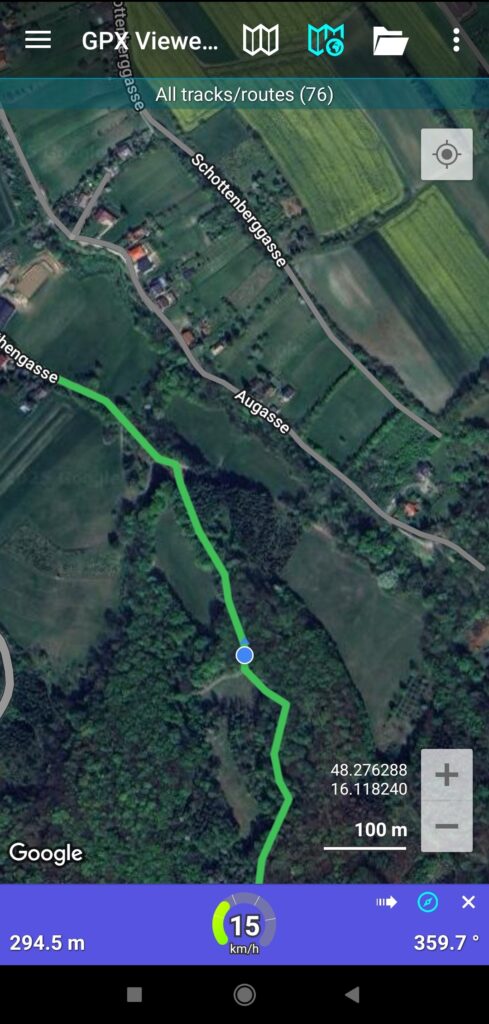
Here are two ways to activate Follow GPS feature: tap blue arrow button at bottom of screen or open left main menu → activate Follow GPS.
When Follow GPS is active, a blue speed bar appears below map. If you are not on your track, a blue dotted line appears showing the way to the closest track point. Distance to this point is displayed above your current location.
The speed bar has three buttons in upper right part, let’s have a closer look at them:
- Arrow button centers map on your current position. When you move map to another area, after a while a turquoise bar appears at top of speed bar, showing countdown until map centers back automatically. To center map immediately, tap arrow button.
- Compass button turns map rotating on or off. When rotation is active, the button is turquoise.
- X button turns off following GPS.
How to show or hide top toolbar
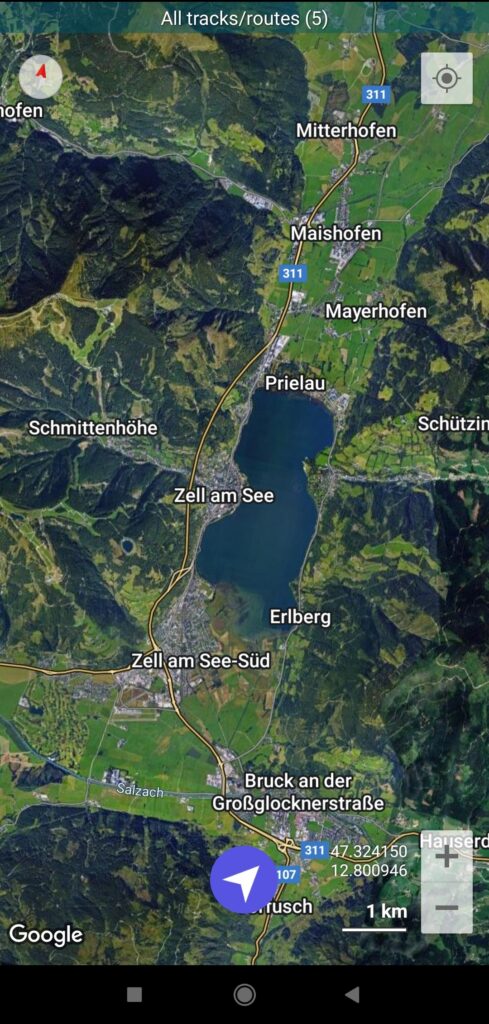
There are many ways to customize GPX Viewer to match your preferences. Want to save some space on the map screen? You can hide top toolbar in the settings, to do this open left main menu → Settings → User interface → turn off Show application toolbar setting. When toolbar is hidden, swipe right from left edge of screen to open menu. You can show toolbar again using same steps.
Didn’t find the answer to your question in this article? Check our FAQ section for more topics, troubleshooting tips, and detailed instructions: https://docs.vecturagames.com/gpxviewer/doku.php?id=docs:faq.

